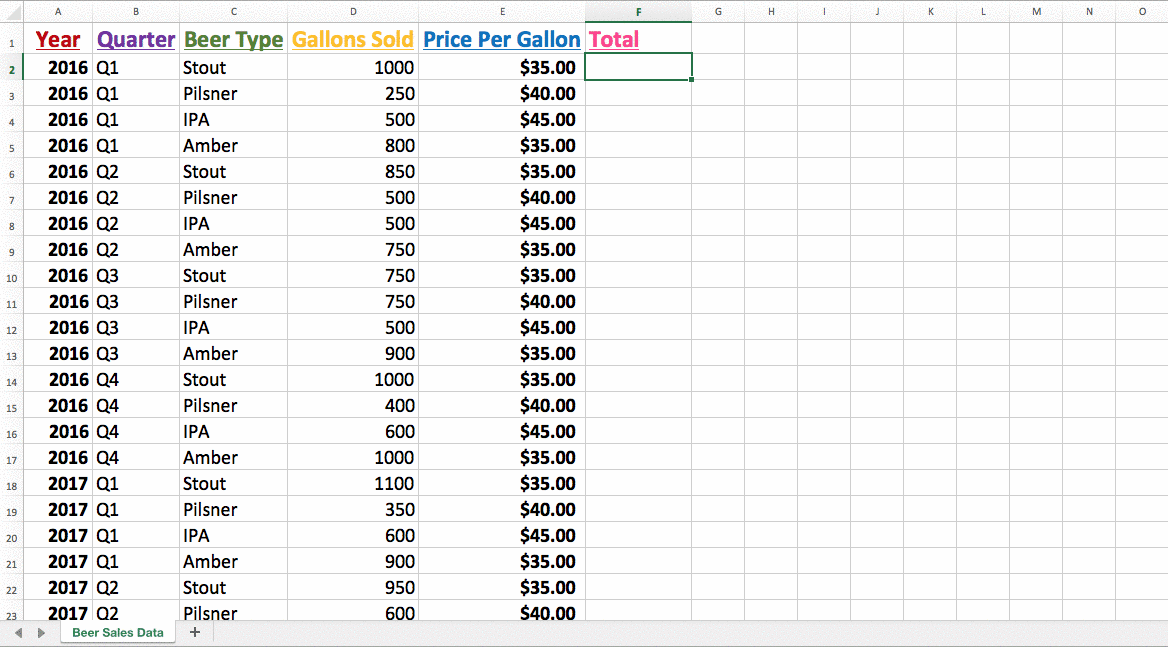
1. Apply the same formatting
Let’s say that i want to make another column in my spreadsheet—and i would like to use an equivalent formatting that’s in an existing column. For example, i would like the “Total” column I’ve created to even have bold font and therefore the dollar signs just like the “Price Per Gallon” column that already exists on my spreadsheet.
It’s simple to use existing formatting to a replacement column.
Select a cell that has the formatting you would like and replica that cell. Then, select the section of your spreadsheet that you simply got to apply that formatting to, right click, select “Paste Special,” then click the box for formats.
Now, once I enter a worth therein “Total” column, it’ll automatically appear with bold font and a dollar sign—without me having to try to to any longer manual work.
2. Insert more than one row or column
Needing to insert one row or column at a time are often monotonous. Luckily, there’s a fast trick that permits you to insert multiple rows or columns into your spreadsheet with one click.
This hack is painfully simple: Highlight the amount of rows or columns that you simply want to insert, then right click and choose insert.
So, if i would like three new, blank columns to seem before my existing “Gallons Sold” column, i might highlight three columns starting with “Gallons Sold” then click insert.
Just like that, I even have three fresh columns in my spreadsheet—without the effort of inserting one at a time.
Note: This trick works the exact same way with rows. You’d obviously just highlight rows rather than columns.
3. Make a copy of your worksheet
If there’s a worksheet that you simply end up creating regularly—like a monthly report, for example—needing to re-create it from scratch every single time isn’t necessary.
Instead, it’s better to form a replica of your entire worksheet, in order that all of your formatting and other elements are already there—you just got to swap out any necessary information.
To do this, right click on the tab for your worksheet at rock bottom and choose “Move or Copy.” At that time , you’ll be met with a popup that asks where you’d like your sheet to be moved and where you’d love it to seem .
In this example, i would like my copied sheet to measure in my same workbook, and before my existing “Beer Sales Data” worksheet. So, i choose those options, check the box for “Make a replica ,” and find yourself with a particular replica of my existing sheet to use and revise:
4. Embed an Excel spreadsheet
If you’re producing a proposal, report, or other important document in Word, it are often helpful to embed the contents of your Excel spreadsheet.
This is fairly easy to accomplish. To do so, select then copy the portion of your spreadsheet that you simply want to embed.
Head to Word, then select “Paste” and “Paste Special.” Within that popup, find and choose the choice for “Microsoft Excel Worksheet Object,” make sure you select the choice for “Paste Link,” then click “OK.”
You will see your spreadsheet embedded in your document (you’ll likely got to do some brief resizing!). Additionally, since you chose the “Paste Link” option, whenever you create changes to your spreadsheet, they’ll automatically be updated within the embedded chart in your Word document. Pretty slick, right?
Note: you'll also embed an excel spreadsheet in an email. But, the precise directions for which will vary counting on your email provider.
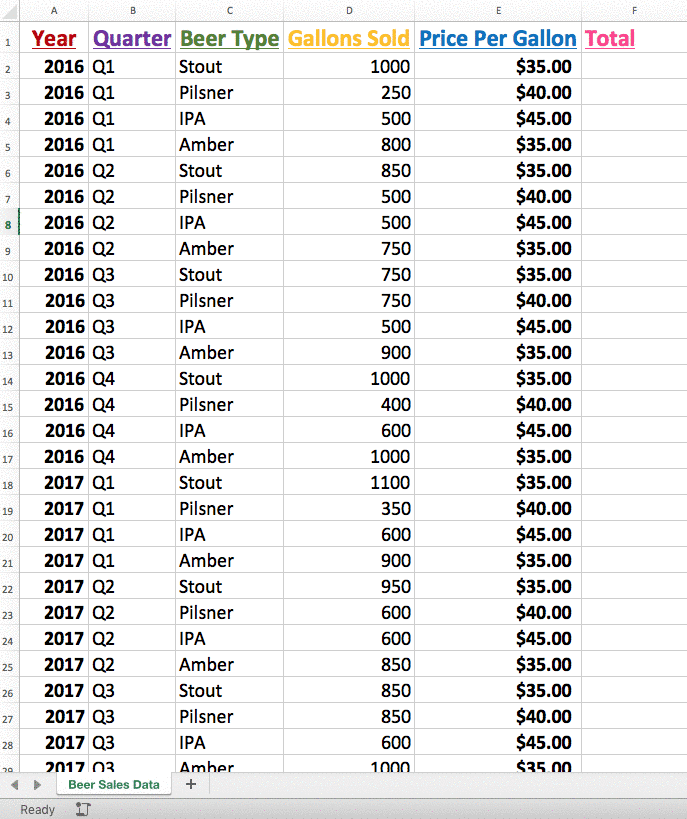
5. Find and replace values
Maybe you noticed a mistake in your spreadsheet. Or, perhaps you would like to update some terminology.
There’s no got to scroll through your entire data set to seek out each individual occurrence of that term or value. Using the “Find and Replace” feature can assist you update everything directly .
Highlight the cells you would like to look and hit Ctrl + F. You’ll be met with a popup where you'll enter which term you would like to seek out within the spreadsheet, also as what you’d wish to replace it with.
For example, if I wanted to exchange the looks of “Stout” with “Vanilla Stout,” I could use “Find and Replace” to try to to that during a few short steps.
Note: It’s important to remember that this feature will replace every appearance of the mixture of letters that you simply enter. So, if you had an inventory of states and wanted to exchange CO with AZ, it might replace anywhere that “Co” appears—meaning you'll find yourself with something that says “Azmpany” rather than “Company.”
6. Use two windows
Do you have worksheets within an equivalent workbook, but would really like to look at them side by side—rather than wanting to click back and forth between the two?
Of course, there’s how you'll easily do that .
If you’re on a Mac, click “Window” within the most Excel menu then select “New Window.” If you’re on PC, attend “View” within the Excel ribbon then select “New Window.”
Doing so will open your existing workbook in a completely new window—so you'll position them side by side and avoid a bunch of clicking.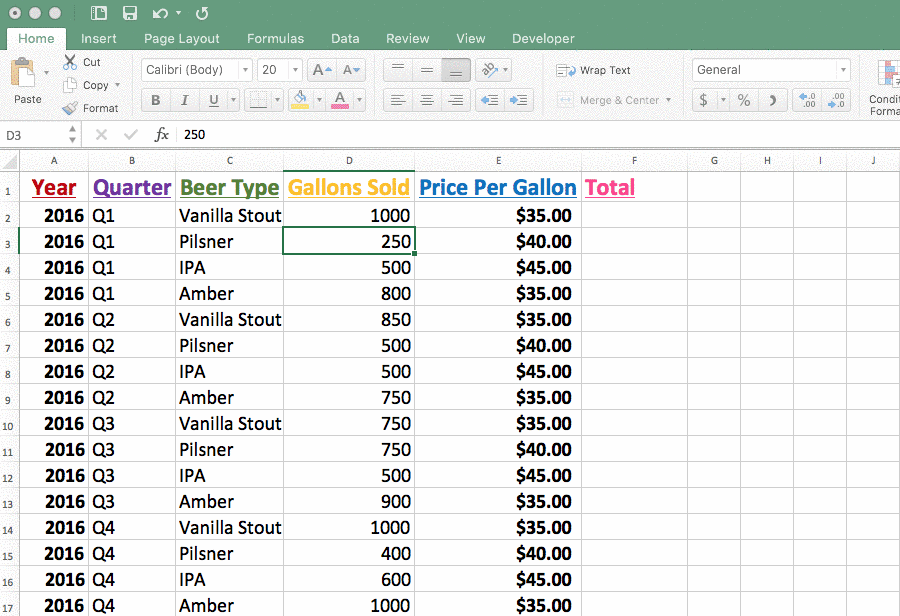
The best part? Any changes you create are going to be applied to both windows—so you don’t got to make changes twice.


0 Comments